
How to Mount a Starlink Dish: Picking the Spot and the Right Mount
Most Starlink problems that look like bad service are really bad placement. The dish needs a wide, clear view of the sky; a single tree branch or chimney in the wrong place can cause a dropout every few minutes, all day.
Mounting it well comes down to four decisions: where it goes, what holds it, how the cable gets inside, and how it’s kept safe. Mount details below come from Starlink’s accessories guide for the Standard kit.
Step 1: Find a spot with a clear view of the sky
Every current Starlink dish has a 110° field of view: it looks at a wide cone of sky, not one point. Anything inside that cone, including trees, chimneys, neighboring buildings or the edge of your own roof, interrupts the signal as satellites pass behind it.
Before drilling anything, use the obstruction check in the Starlink app. It uses your phone’s camera to scan the sky from where you’re standing and shows how much of the view is blocked. Check from the exact spot and height where the dish will go: the same yard can be clear at roof height and blocked at ground level.
A few rules of thumb:
- Higher is usually better, because it clears fences, cars and low trees.
- Plan for growth. A tree that’s fine today may block the view in two summers.
- Never mount it indoors. Roofs, attics and windows block the signal, including glass.
- Think about snow. Starlink dishes melt snow off their face (up to 1.5 inches per hour for the Standard), but a dish mounted low can still be buried by drifts or snow sliding off a roof.
Step 2: Choose the right mount
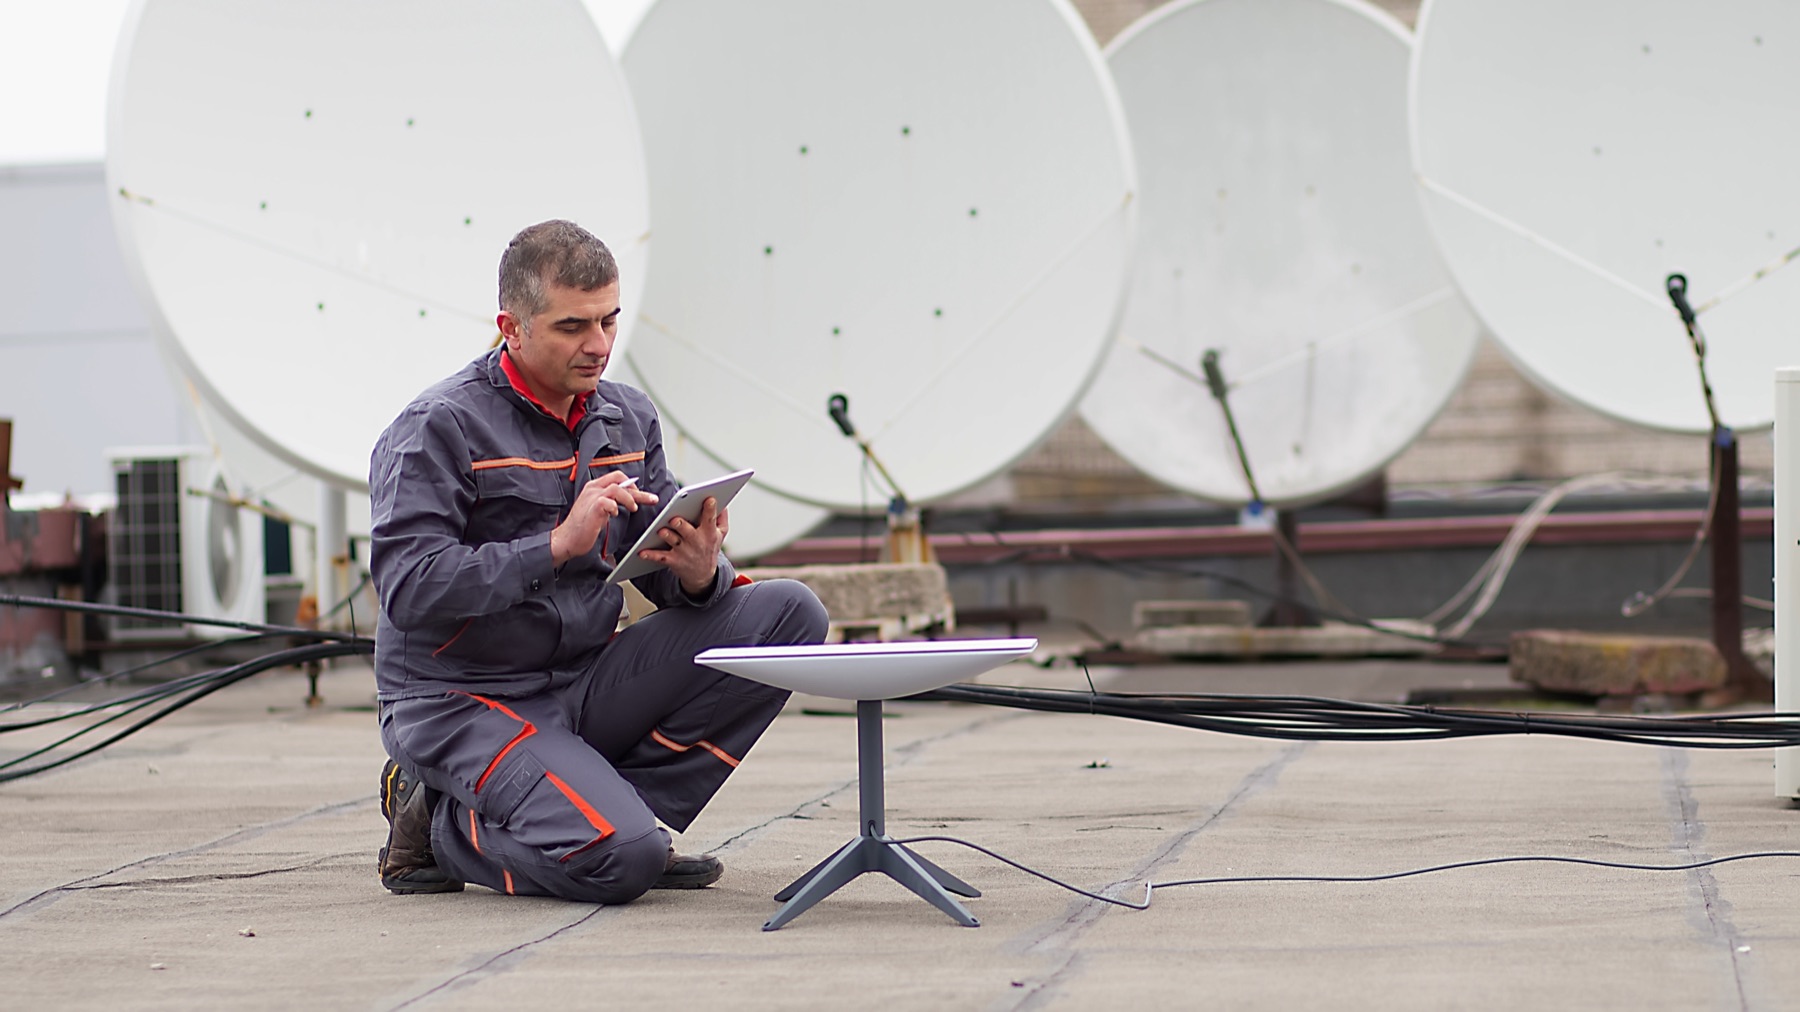
The Standard kit comes with a kickstand, which is fine for testing or a ground installation in a clear yard. For anything permanent, Starlink sells mounts for the common situations:
| Mount | Best for | Good to know |
|---|---|---|
| Wall Mount | An exterior wall near the top of a gable or fascia | Handles an overhang of up to 4 inches |
| Pivot Mount | Sloped, shingled roofs | Swivels so you can adjust the angle after mounting |
| Pipe Adapter | An existing pole, 1.25 to 2.5 inches in diameter | Metal pipes only, not PVC or plastic; pipe not included |
| Ridgeline Mount | The peak of a gable roof, with no drilling | Held by ballast weights; roofs under 45° slope; not for clay tile; rated to 50 mph wind |
| X-Frame Base | Ground-level installations | Freestanding; quick to set up |
| Mobility Mount | Permanent installation on a vehicle | Sealed, stainless fasteners, slight tilt to shed water |
| Roof Rack Mount | Vehicle roof racks | Removable when you’re not traveling |
The Starlink Mini comes with a kickstand, a pipe adapter and a flat mount in the box, which covers most camping and RV setups. The V5 kit includes a pipe adapter.
If you’re replacing an older dish, Starlink also sells an adapter that lets a current Standard dish use an existing mount for the older Standard Actuated kit, so you don’t have to drill new holes.
Step 3: Route the cable
The Standard kit’s cable is 15 meters (49.2 feet), and Starlink sells a 45-meter (147.6-foot) cable if the dish is far from where the router will sit. Both have factory connectors at each end, so plan the route around the connector size rather than planning to cut and shorten the cable.
- Use the clips. Starlink’s mounts include cable routing clips; secure the cable every few feet so wind can’t work it loose.
- Leave a drip loop. Where the cable enters the building, let it dip below the entry hole first, so rain runs off the loop instead of into the wall.
- Seal every hole you make with outdoor-rated sealant. The Pivot Mount comes with sealant tape for its lag screws.
- Bring it inside where the router can live in the open. The router needs a central spot for good Wi-Fi; don’t let the cable route force it into a closet.
Step 4: Stay safe
- Roof work is the risky part. Use a stable ladder, don’t work alone, and stay off wet or icy roofs. If the only good spot is high on a steep roof, a professional installer is money well spent.
- Grounding. Outdoor antenna masts and metal poles are covered by electrical codes in many areas. Follow local code, and ask a licensed electrician if you’re unsure how it applies to your installation.
- Find the rafters. Roof and wall mounts should go into solid framing, not just sheathing or siding.
Step 5: Power up and let it point itself
Starlink dishes use what Starlink calls software-assisted manual orienting: once it’s powered up, the app tells you which way the dish should face, and you adjust it. Over the first day, keep an eye on the obstruction map in the app, which fills in as satellites pass overhead and shows whether anything is interrupting the signal at certain times.
Quick answers
Does Starlink have to go on the roof? No. Any spot with a clear view of the sky works, including a pole in the yard or a ground mount. The roof is just often the highest clear point.
How strong is the wind rating? Starlink rates the Standard dish as operational in winds of 60 mph and above. The Ridgeline Mount has its own rating of 50 mph, because it’s held by weights rather than bolts.
Can I mount it on a chimney? Starlink doesn’t list a chimney mount for the current Standard kit. A pipe attached to the chimney with the Pipe Adapter is a common approach, but check that the chimney and its strapping can take the wind load.
Which kit should I mount: Mini or Standard? If you’re still choosing, see our Starlink Mini vs Standard comparison. Once it’s up, our Starlink router guide covers getting the best Wi-Fi inside.