
How to Install Home Assistant on a Raspberry Pi (Step by Step)
Home Assistant is the free, open-source way to run a smart home that doesn’t depend on any one company’s cloud. It brings lights, plugs, thermostats, cameras and sensors from dozens of brands into one app, and runs your automations locally, so they keep working when the internet doesn’t.
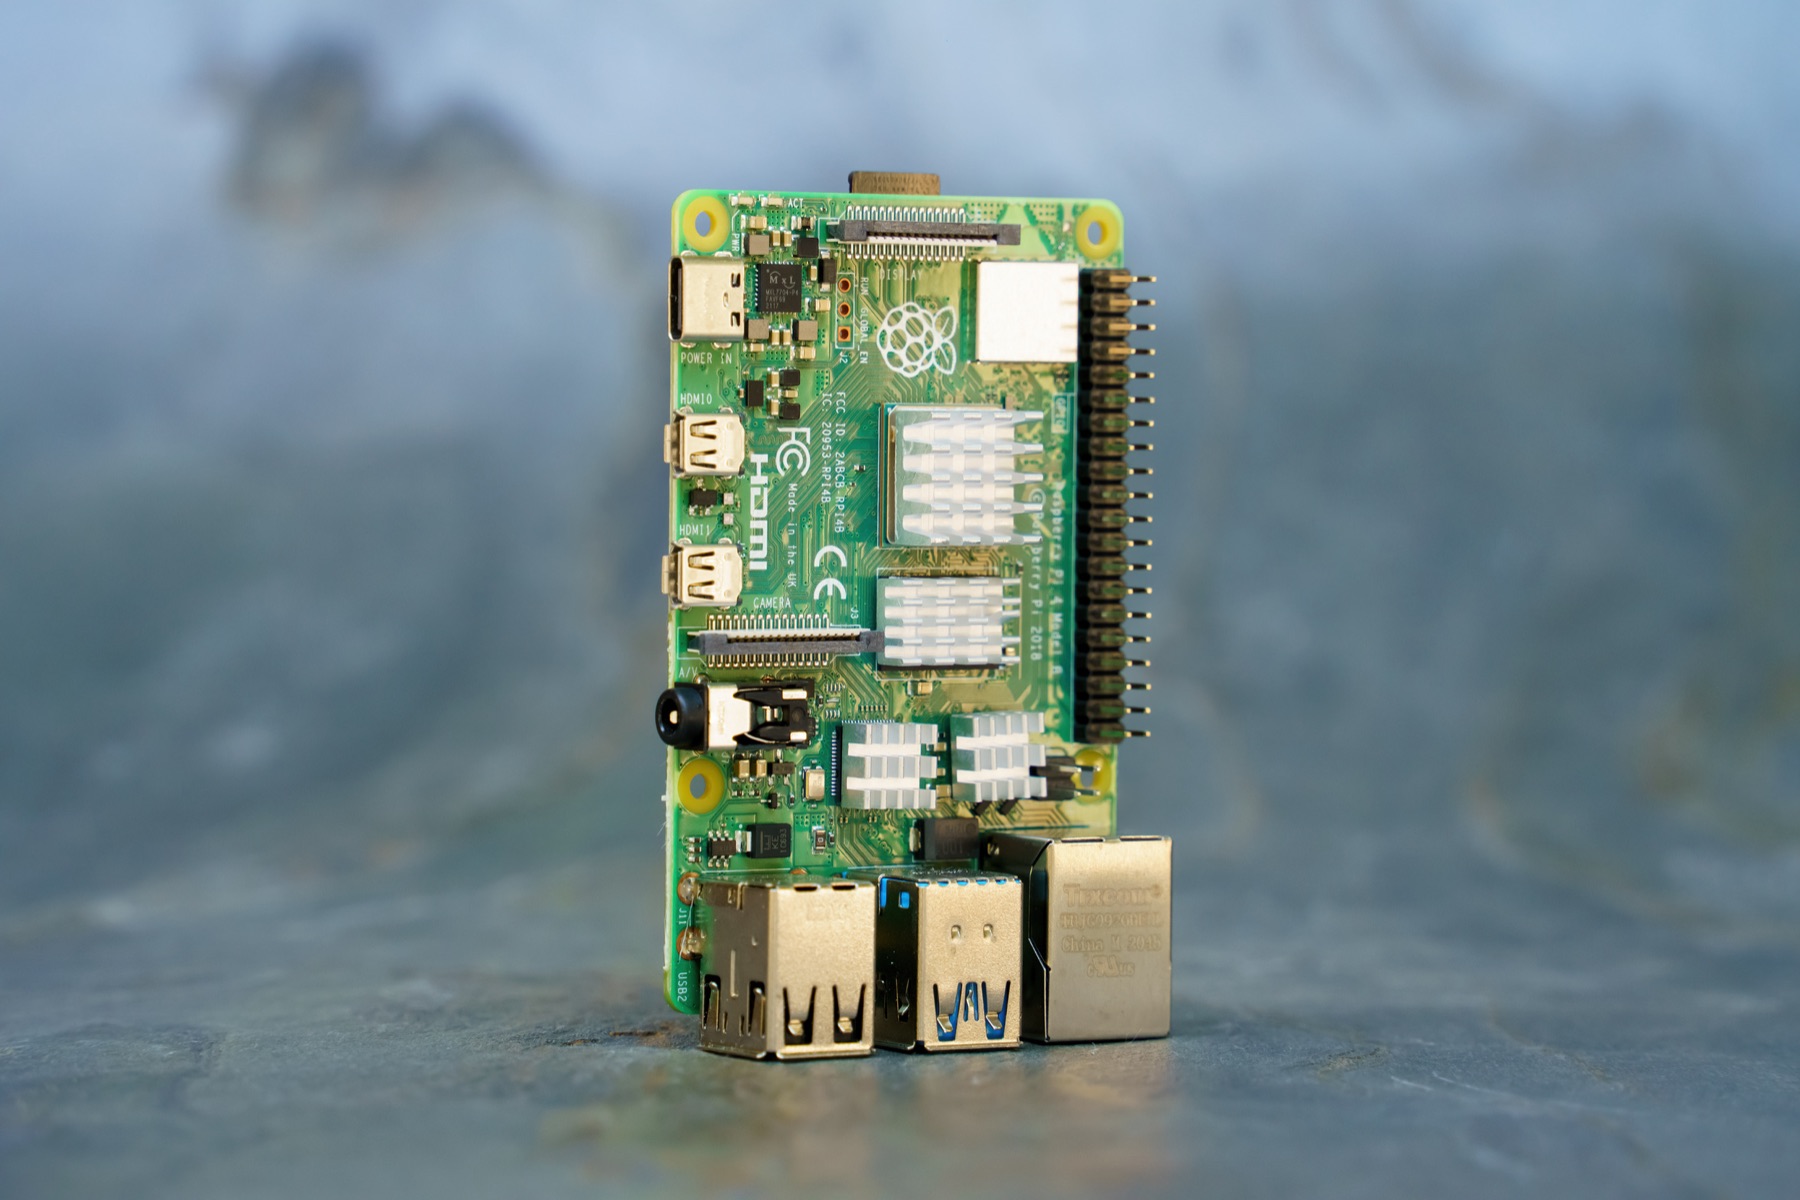
A Raspberry Pi is the classic way to run it: small, quiet, and inexpensive to power. Installation takes about half an hour. The steps below follow Home Assistant’s official Raspberry Pi guide.
What you need
- A Raspberry Pi 5 or Raspberry Pi 4 with at least 2 GB of RAM.
- The right power supply. Use the official Raspberry Pi supply or one rated for your model. Phone chargers often can’t deliver full power, and a computer’s USB port won’t work.
- A microSD card of at least 32 GB, ideally labeled A2 (Application Class 2), which handles the small, frequent writes Home Assistant makes much better.
- An SD card reader for your computer.
- An Ethernet cable. It’s required for installation. Home Assistant can use Wi-Fi afterward, but a wired connection is more reliable and recommended.
Step 1: Write Home Assistant to the SD card
- Download and install Raspberry Pi Imager from raspberrypi.com/software.
- Open it and choose the operating system: Other specific-purpose OS → Home automation → Home Assistant.
- Pick the Home Assistant version that matches your board: RPi 5 or RPi 4.
- Insert the SD card and select it as the storage. Everything on it will be erased.
- Select Next, then Write, and wait for it to finish. Select Finish and eject the card.
If Raspberry Pi Imager doesn’t run on your computer, Home Assistant’s guide links to the image files directly, which you can write with another tool such as Balena Etcher.
Step 2: Start the Pi
- Insert the SD card into the Raspberry Pi.
- Connect the Ethernet cable to your router, so the Pi is on the same network as your computer.
- Plug in the power supply. The Pi starts up as soon as it has power.
Step 3: Open Home Assistant
On your computer, open a browser and go to homeassistant.local. On a Pi 4 or 5 the page should appear within a minute or so.
If it doesn’t load:
- Add the port number: homeassistant.local:8123. Home Assistant uses port 8123 when the usual web port isn’t available.
- Try homeassistant:8123, or the Pi’s IP address followed by :8123 (your router’s app lists connected devices and their addresses). Some older Windows versions and stricter networks need this.
- If nothing appears after five minutes, the card may not have written properly. Write it again, or try a different card.

Step 4: Your first hour
Home Assistant’s onboarding walks you through creating your account and setting your home’s location. Then:
- Check the discovered devices. Home Assistant automatically finds many devices on your network, such as smart speakers, TVs, printers and some smart plugs, and offers to add them.
- Install the mobile app for iPhone or Android. It gives you notifications, and your phone’s location can drive automations (“turn on the porch light when I get home”).
- Turn on automatic backups under Settings → System → Backups, and store a copy somewhere other than the Pi itself.
- Build one automation that matters to you, such as lights off at bedtime or a notification when the garage door is left open. Getting one useful thing working is the best way to learn how it all fits together.
Things worth knowing early
SD cards wear out. Home Assistant writes to its storage constantly, and microSD cards aren’t built for that. An A2 card helps, and backups make it survivable. Many people later move their installation to a USB SSD for better reliability.
Zigbee, Z-Wave and Thread need a radio. Many smart devices don’t use Wi-Fi at all. To add them, you’ll need a USB adapter for the relevant protocol; Home Assistant sells its own Zigbee and Thread adapter.
Put it where it can see your devices. If you split smart gadgets onto their own Wi-Fi network (a good idea, explained in our guide to smart home network security), Home Assistant needs to reach both networks, or device discovery stops working.
Remote access. You can reach Home Assistant from outside your home with Home Assistant Cloud, a paid subscription that also funds the project, or with a VPN. If you’re on Starlink, port forwarding usually isn’t available, so one of those is the way to go; see our Starlink router guide.
Raspberry Pi or Home Assistant Green?
Home Assistant also sells Home Assistant Green, a ready-made box with Home Assistant pre-installed. You plug it in and open the same address. It skips the SD card, the power supply question and the imaging steps, and it’s designed for exactly this job.
- Choose the Raspberry Pi if you already own one, enjoy tinkering, or want to use the hardware for other projects later.
- Choose Home Assistant Green if you want it to just work, or you’re setting it up for someone else.
Quick answers
Can Home Assistant run on a Raspberry Pi 3? The official guide recommends a Pi 4 or Pi 5. Older boards are slower and more likely to struggle as your setup grows.
Do I need a monitor or keyboard? No. Everything happens in a browser on another computer. A monitor only helps for troubleshooting if the setup page never appears.
Is Home Assistant free? Yes. The software is free and open source; the optional Home Assistant Cloud subscription adds easy remote access and voice assistant integration.
Can I use Wi-Fi instead of Ethernet? Ethernet is required during installation. You can switch to Wi-Fi afterward, though Home Assistant recommends staying wired.